
Manage Views & Columns
Guide on how to manage columns & views in your screens
Overview
Each screener can have up to 12 views. Each view represents a set of columns and can have up to 20 columns. By default, when you create a new screen, it will have 5 views already created for you.
Default Views
When you create a screen, you will automatically have 5 different views by which you can view your screen.
- Overview
- Long-Term ROI
- Calendar-Years ROI
- Volume
- Classifications
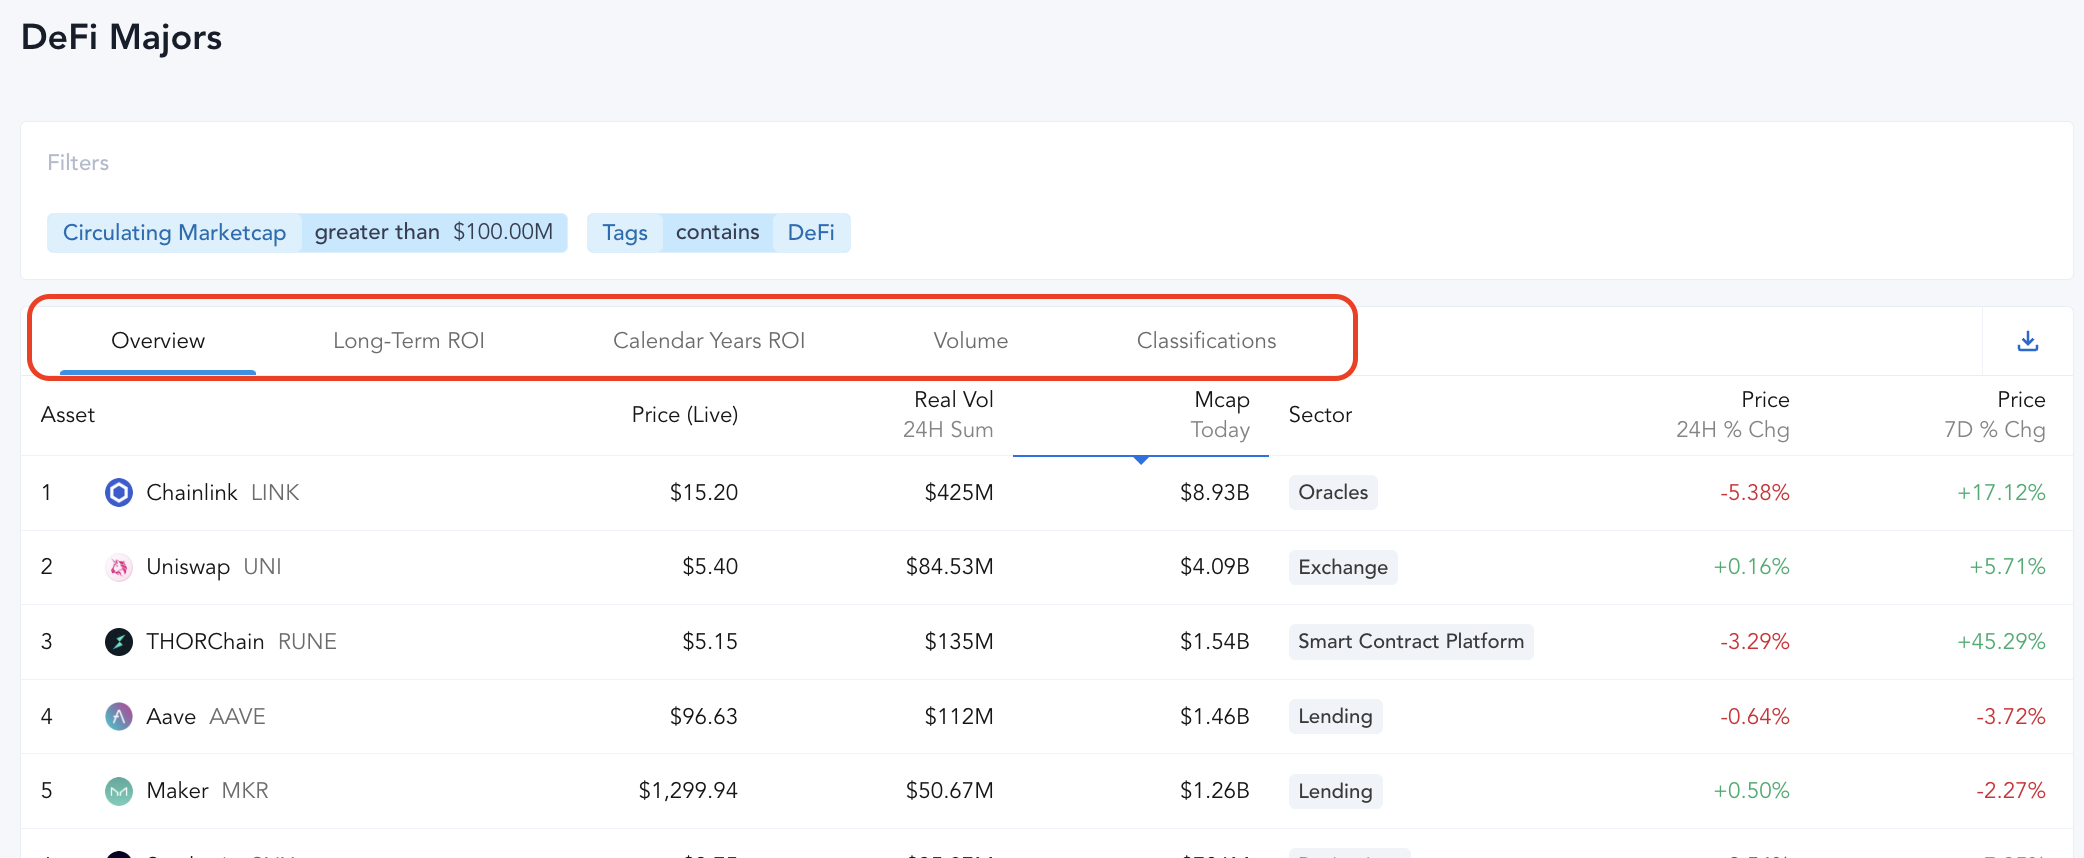
Overview
Provides an overview of different market cap, volume, ROI metrics & high-level classifications.
Long-Term ROI
Provides different Price % Change metrics on various timeframes (from 7 days to 5 years)

Calendar Years ROI
Provides different Price % Change metrics on specific years

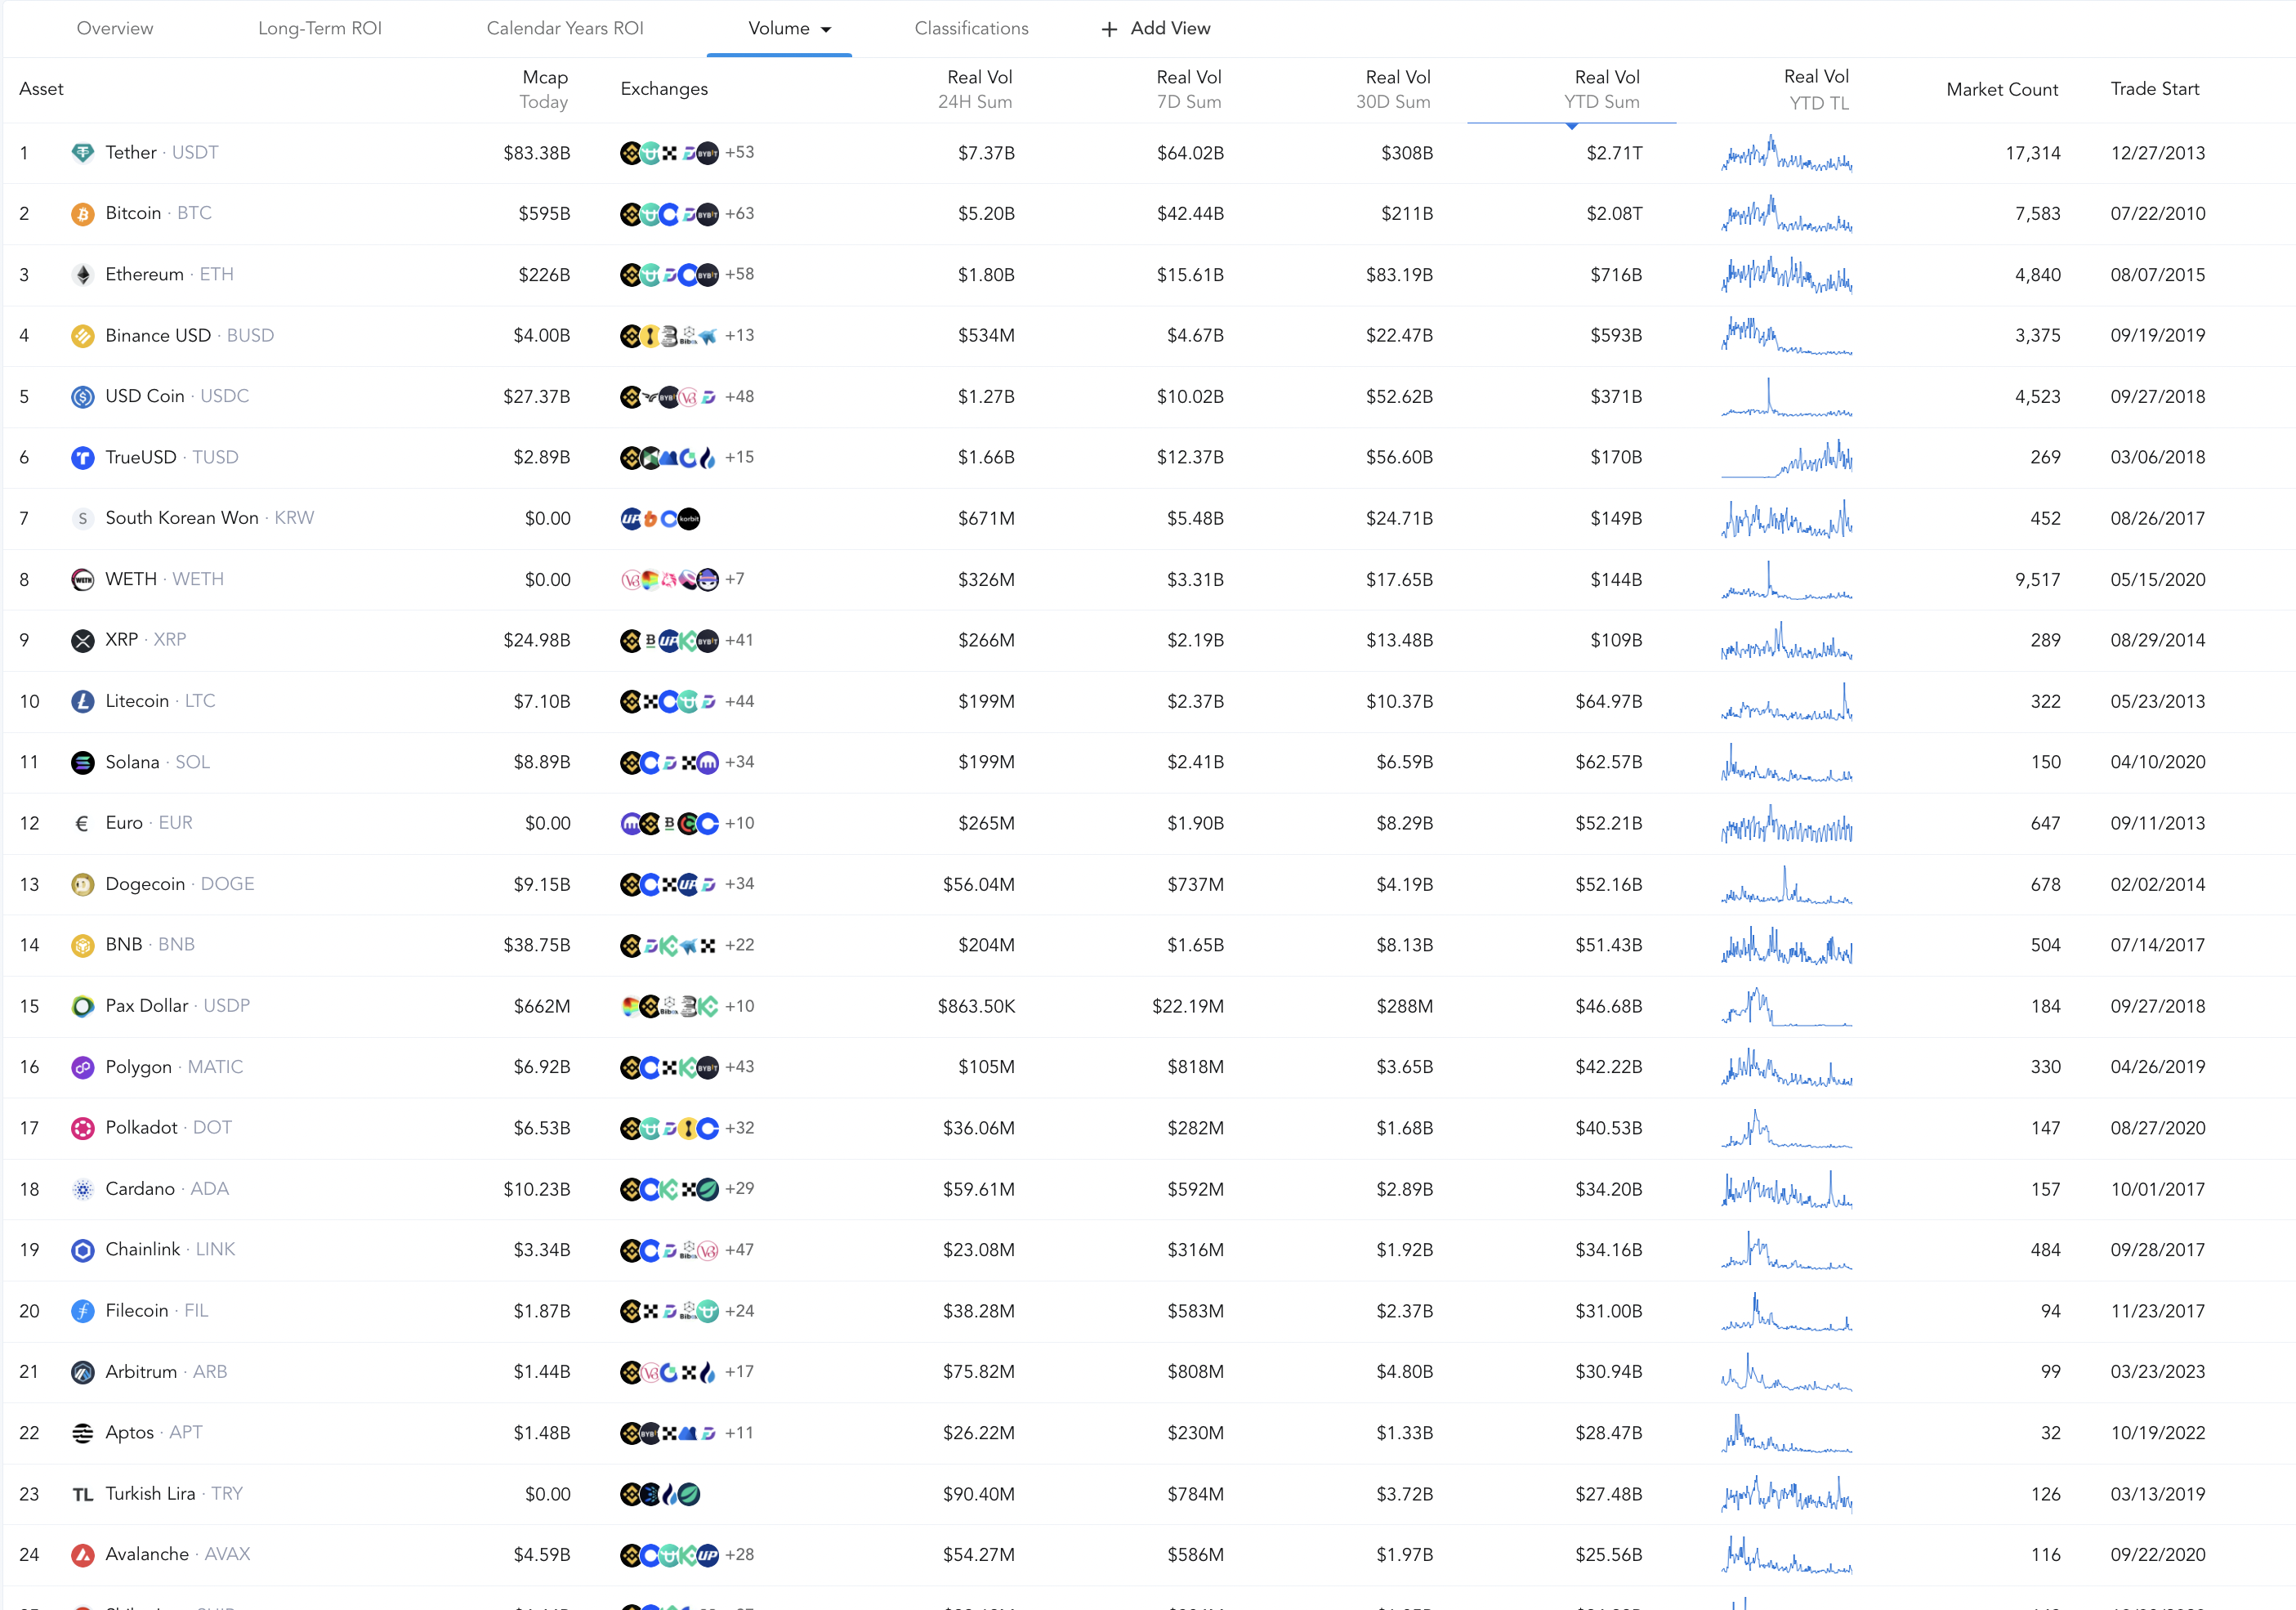
Volume
Provide different metrics around volume aggregates, exchanges where the asset is trading, and number of markets tracked by Messari
Classifications
Provides different classifications for assets, including the network(s) where the asset is deployed, the exchanges where it's traded, as well as the sectors and tags from Messari taxonomy that help classify the assets

Editing Views & Columns
Editing Views & Creating New Views
A screen may contain up to 12 views. You can rename them, duplicate them, export the view results into CSV (Enterprise users only), and add your own custom views.
To add a new view, simply click the Add View button. You can then name your view and add columns as you see fit.
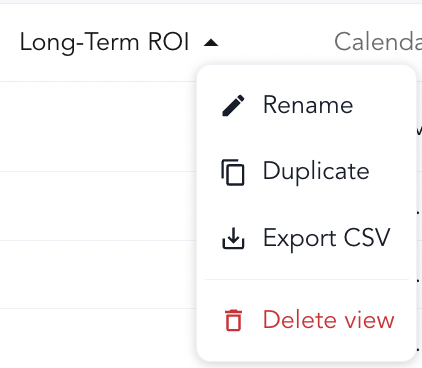
To rename, duplicate, export a view into CSV, or delete it, simply click the arrow icon next to a view's name and select the action you want to perform.
Editing Columns
To edit columns from an existing view or a new view, you can either do it directly from a given column header, or from the column manager dialog, accessible on the far right of your screen (wand icon).

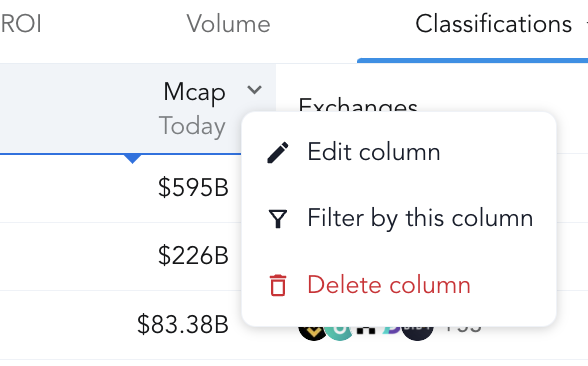
Zooming in on the column header capabilities, you can directly edit the column transformations from there:

You can also move column placement by drag-and-dropping them as you see fit. If you want to bulk edit your columns for a given view, the column manager is the best place to do so. Click on Manage Columns in the far right of your screen, or click the column manager dialog (wand icon) to access it.
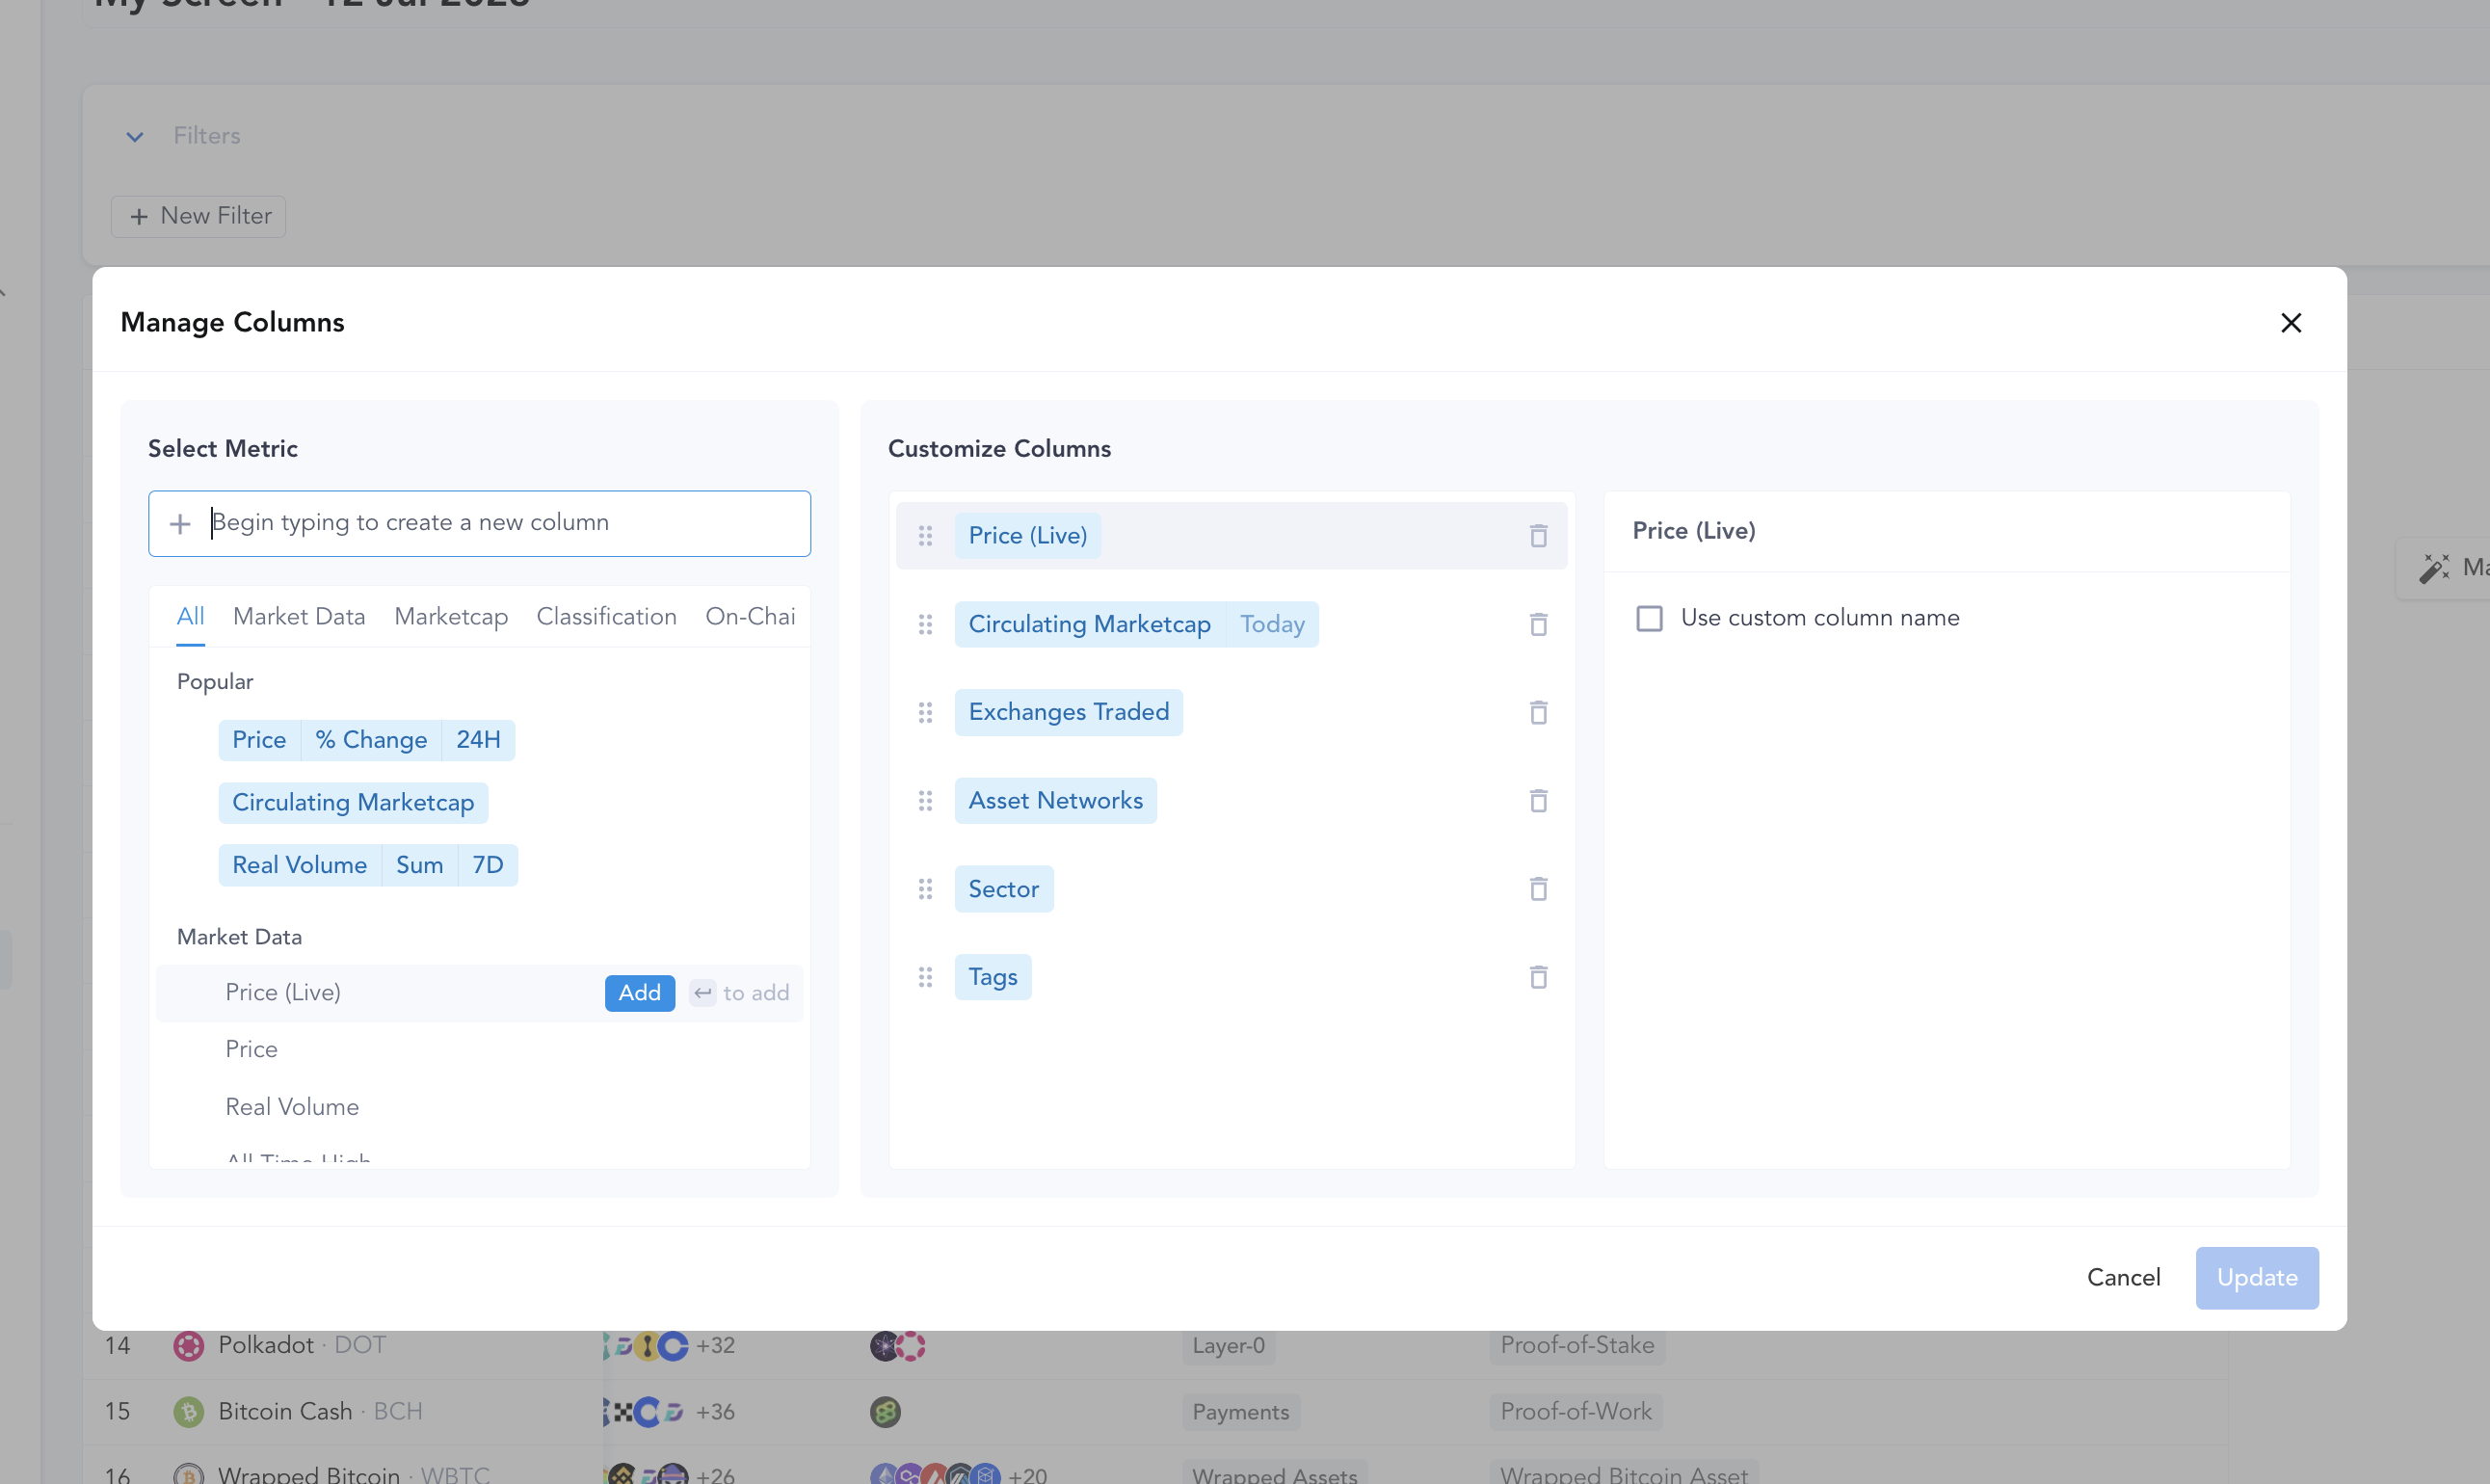
From there, you can directly add and remove columns, re-order them, and add transformations to selected metrics. When you're done making your changes, simply click on Update and they will be applied to your your view.
Apply Functions to Column Metrics
Similar to the filters, you can also apply functions to the different metrics. To do so, select a metric in the middle column of the column manager.
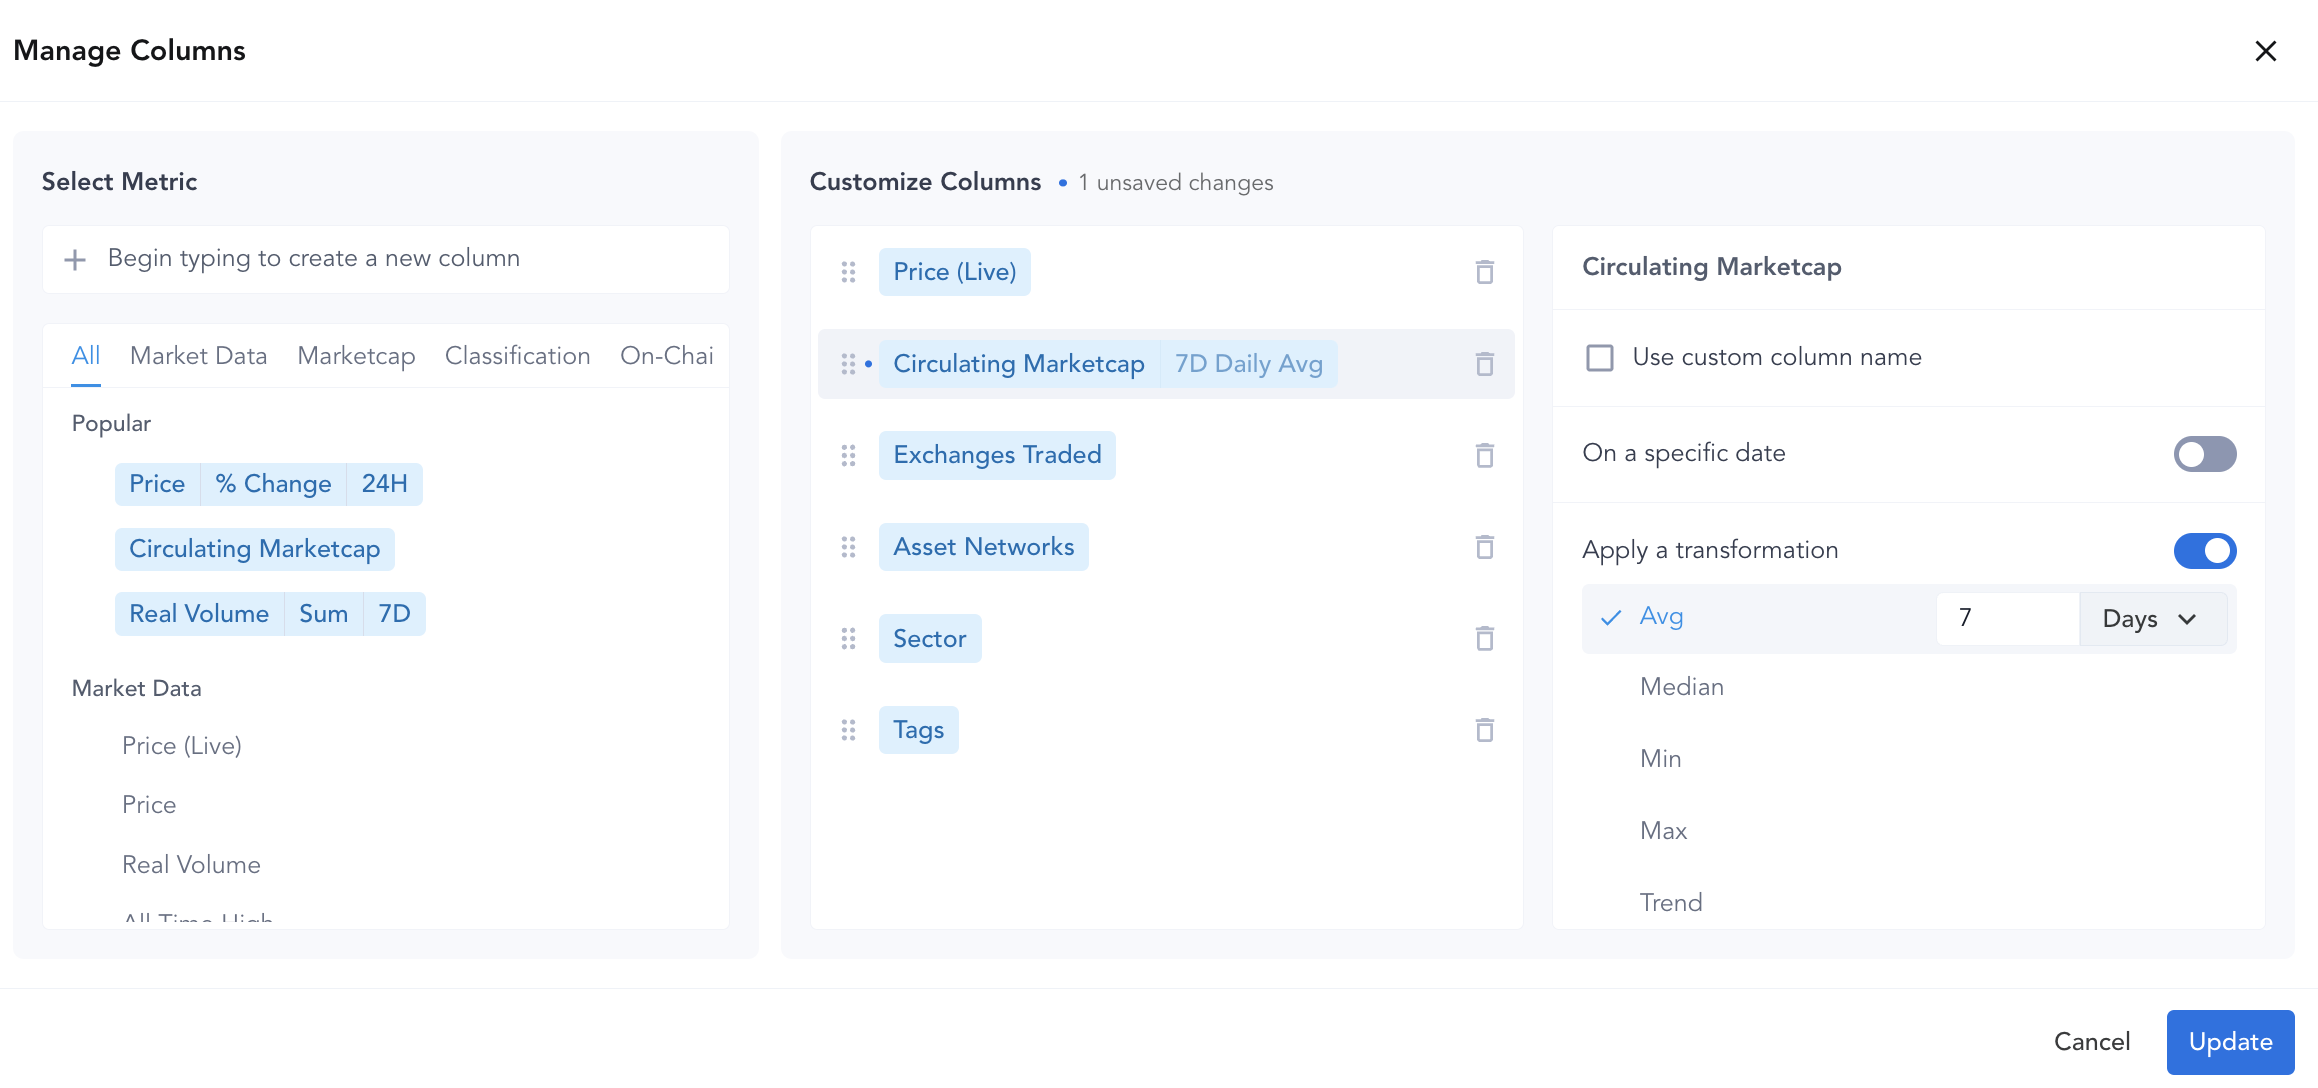
From there, multiple functions are available for each metric:
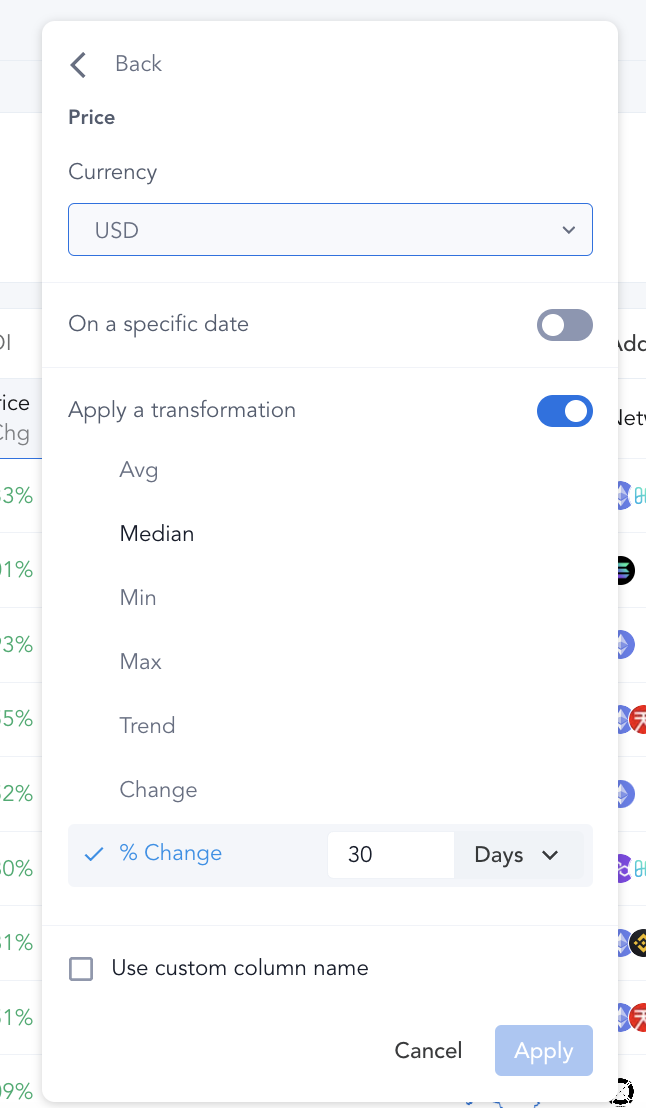
- Specific Date: You can select to a date in the past for which you want to see a given metric such as price or market cap.
- Transformation functions:
- Sum: cumulative sum of a given over a defined time-period. Only available for cumulative metrics.
- Average: the average of a given metric over a defined time-period
- Min: minimum value of a given metric over a defined time-period
- Max: maximum value of a given metric over a defined time-period
- Median: median of a given metric over a defined time-period
- Change: absolute change of a given metric over a defined time-period. Available for Price, Marketcap and other metrics.
- % Change: percentage change of a given metric over a defined time-period. Available for Price, Marketcap and other metrics.
For each of these transformations, you can select from a large array of timeframe options settings:
- Last X days or hours: Hour-based timeframes are only available for Volume and price metrics at the moment.
- Specific Year (2022, 2021 etc...)
- To date: Month-to-Date, Quarter-to-Date, Year-to-Date
- Custom timeframes. Select an interval between two custom dates, or select a single date to apply a transformation since that date.
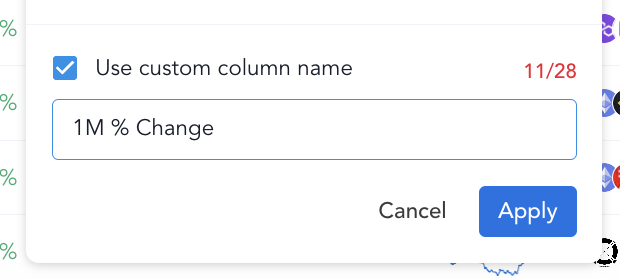
Customizing Column Names
You can also set custom names for your columns by using the column options menu.
Hover over a column header until the carrot icon appears:

Check the Use custom column name box at the bottom.
Update the column's name and press Apply.
Deleting Columns
At any point, you can delete existing columns straight from the column's header or the column manager.
Updated 4 months ago